The Pen Tool: Adobe Illustrator
A while back I talked about creating a Transparent Background in Adobe Illustrator. Today I’m taking it back to the basics and talking about the Pen Tool. You are interested in the Pen Tool if you are new to Adobe Illustrator. It is the base of almost everything you will do in the program.
Identifying the Pen Tool
Look for that little icon that looks like an old fashioned ink well pen. It’s located very close to the top of your tools panel.

Creating Your First Lines
Anything you create with the pen tool begins with an itty bitty little dot (below).

Draw a second dot, and if as magic, the two dots become a line segment.
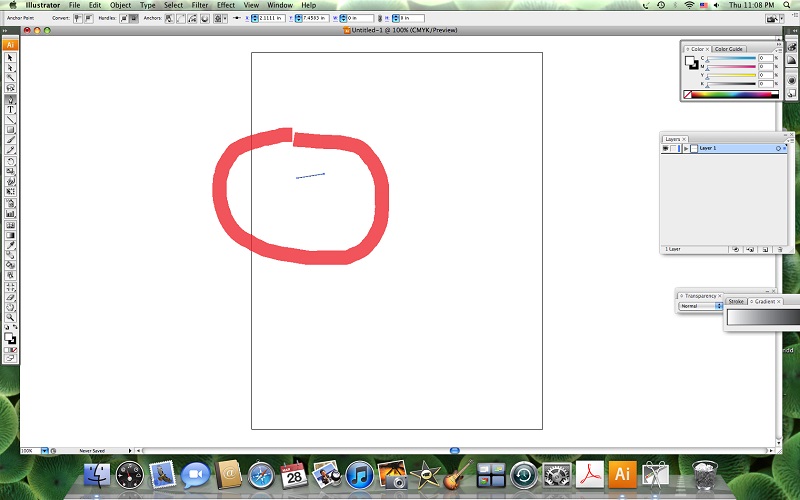
Add to that segment and make any shape you can imagine. Your imagination is the only limit. When you first start using it, it can be hard to control and to make it do what you want.

Tracing with the Pen Tool
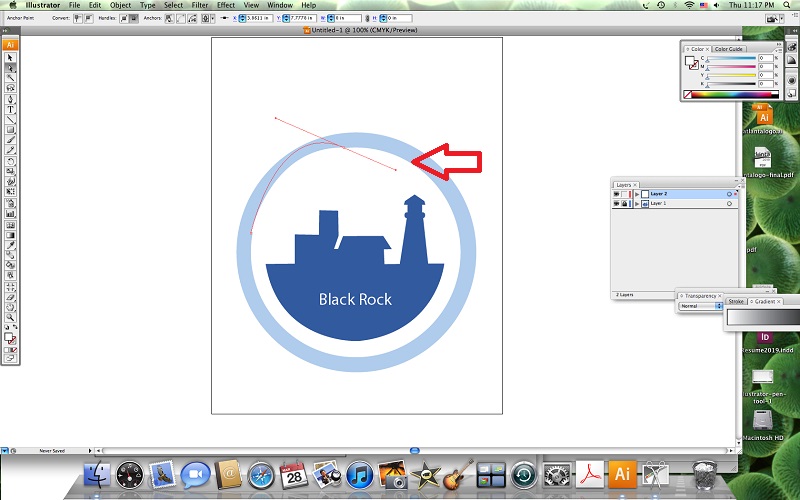
Try to trace items. It will give you a feel of how to maneuver the tool to work the way you want it to. Paste in an image and add a layer. Lock layer one, so the pasted image doesn’t move around.

Start with one point. Without dragging the Pen Tool, draw a second point. When you pull your cursor away you’ll see that you are able to make a curved line (below). The straight line on top gives you too “handles” to control your line.

Play around with those lines to trace the shape.
The most important thing to remember is to control your lines and segments. Play around with straight lines. Play around with making curves. Trace objects. The more you use it the more you will become comfortable with it.
More Adobe posts:
Transparent Background in Adobe Illustrator
Customized Color Presets (Filters) in Adobe Photoshop