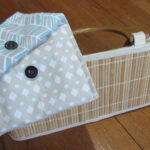
DIY: Multi Purpose Pouch with Magnetic Closure
You need a Multi Purpose Pouch in your life. Rummaging around in your bag? Can’t find small items that you need? Never again after you make this DIY project. Keep reading for the details. This is a super easy project for beginners.
Supplies
- fabric – two 16.5 x 7.25″ (41.91 x 18.415 cm) rectangles
- magnetic snaps with washers
- sewing machine
- scissors
- iron
- sewing pins (optional)
- chalk (optional)
- ruler -12″ / 30.48 cm or longer
Sewing Machine Used


Step 1: Prepare your fabric
Cut and iron your fabric. Face the vibrant sides (below, right) together.


Step 2: Start sewing your Multi Purpose Pouch
Sew the two rectangles together. Make sure to do a backstitch at the beginning and end of your stitch (bottom, left). This way the stitch won’t unravel. Leave one of the short ends open.


Trim any uneven edges (below).

Now flip it right side out (below).

Step 3: Start folding the fabric
Fold a third of the fabric over.

Now adjust it so there is just a little fabric hanging over (see below). This will give you room for the seam that closes the rectangle later on.

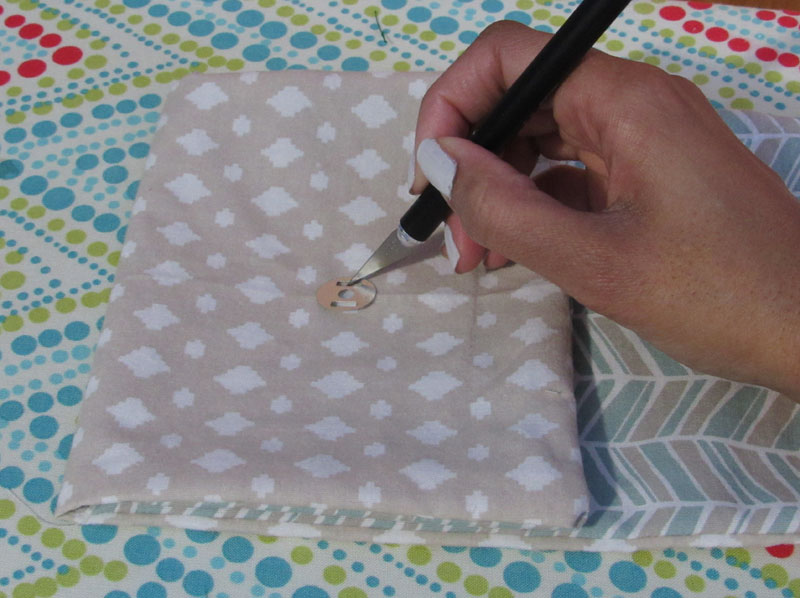
Step 4: Add the bottom snap
Find the center of the fabric using a ruler. Use chalk to mark where the bottom snap will go (bottom, left). You can also mark where the top snap will go (bottom, right).


Place the snap washer over your first chalk mark . Then use your x-acto knife to slice holes where the bottom snap will go. You will be creating two narrow slashes. Only go through one layer of fabric. (bottom, left). Place the bottom snap prongs into the slashes you just made (bottom, right).

Now the snap sits in the fabric (bottom, left). Flip the fabric inside out to make sure the snap is properly inserted (bottom, right).


Add the washer over the snap, then bend down the prongs to secure it (below).

Step 5: Add the top snap
Fit the top snap into the bottom snap (bottom, left). Fold the fabric as pictured. Now place the other snap washer where the top snap will go (bottom, right).


Do the same as before and cut slashes through where the top snap will go. As before, be careful to cut through only one layer of fabric (bottom, left). Then fold the fabric over the snap so the prongs go into the fabric (bottom, middle). Check that the snap if secure (bottom, right).


Just as before, place the washer over the top snap. Then bend down the prongs (below).

Step 6: Sewing the rest of the Multi Purpose Pouch
Check your work, making sure the snaps line up (bottom, left). You can then use pins to keep the bottom half of the pouch in place (bottom, right).


Now flip the top end of the pouch so that the raw edges are enveloped inside (below, left and right).


Sew the the top end closed.


After that, sew the sides of the pouch closed.


Your pouch is now complete! What will you put in it?